
The Real Barrier to Online Teaching from Home in India
Most people don’t realise that the biggest obstacle to starting online teaching from home India isn’t lack of students or teaching ability. It’s the wrong equipment. You sit down with a borrowed laptop, patchy internet, no microphone, and suddenly you’re explaining algebra while your student hears robotic echoes. That’s not teaching. That’s frustration.
Here is the truth: online teaching from home India is booming right now. Homemakers want flexible income. Senior citizens want purpose. Tuition teachers want to escape the commute. Edupreneurs want to scale. But they all hit the same wall. The tech setup feels expensive, complicated, and risky.
This post cuts through that. You’ll learn exactly how to start teaching online from your home in India, what equipment actually matters, and how to avoid wasting money on things you don’t need.
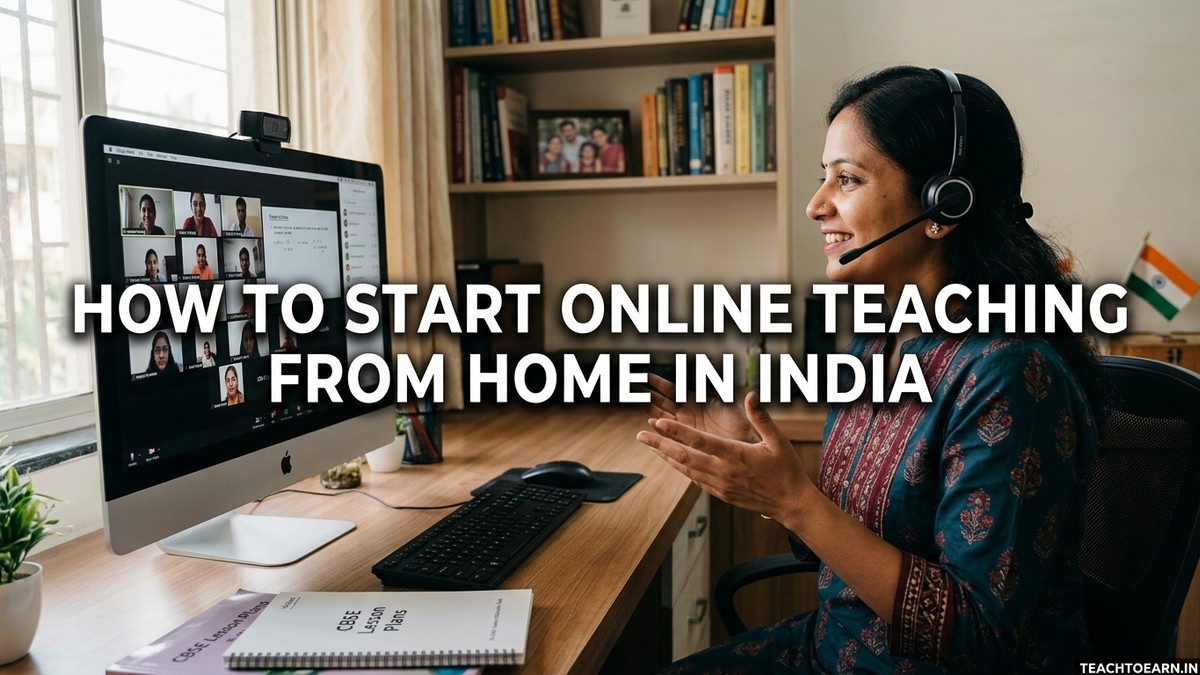
Step 1: Decide Your Teaching Model First
Lets be honest: not every teaching model works from home. Before you buy anything, decide what you’re actually doing.
- One-on-one tutoring – Student joins you via video call. Simplest model. Lowest tech needs.
- Group classes – 5-20 students in a live session. Needs better internet and a bigger screen.
- POD (Point of Digital Learning) – You run a small learning centre from home or community space with trained educators. Hybrid model. More scalable.
Your model determines your setup. A one-on-one tutor needs different gear than someone running a POD with multiple educators and 30 students rotating through daily.
Step 2: Get the Right Equipment, Not Fancy Equipment
Most people don’t realise that expensive doesn’t mean better for online teaching. You need reliability, not brands.
Here’s what actually matters:
- A stable computer (not a phone, not a shared laptop)
- Decent internet (minimum 4 Mbps upload speed)
- A proper microphone and headset
- A webcam (or built-in camera that works)
- Good lighting (sunlight or a cheap LED panel)
That’s it. You don’t need a gaming PC. You don’t need 4K video. You need something that won’t crash at 3 PM when your student is taking an exam.
This is where APNA PC changes the game. For Rs.30,000, you get a complete bundle: an i3 7th Gen Mini PC with 8GB RAM and 128GB SSD, monitor, keyboard, mouse, webcam, headset, education software, 3-year warranty, and professional installation. No guessing. No compatibility issues. No wasted money on unnecessary upgrades.
Compare that to buying pieces separately. You’ll spend more, waste time researching, and likely end up with mismatched gear that doesn’t work well together.
Step 3: Choose Your Platform and Practice
Google Meet, Zoom, or YouTube Live. Pick one and get comfortable with it before your first student logs in.
- Google Meet – Free, simple, works with any Gmail account
- Zoom – More features, better recording options
- YouTube Live – Best for group classes and POD setups
Spend a week doing test calls with friends. Record a short session. Watch it back. You’ll spot audio problems, lighting issues, or awkward framing before they hurt your credibility.
Step 4: Start Small, Then Scale
Here is the truth: your first month won’t be packed with students. That’s normal. Start with 2-3 students you know. Build your confidence. Get testimonials. Then expand.
If you’re thinking bigger, consider a POD model. You train 2-3 educators, run classes from a small home space or community centre, and handle 20-30 students across multiple batches. Same investment. Much higher income. This is how tuition teachers in India are actually scaling right now.
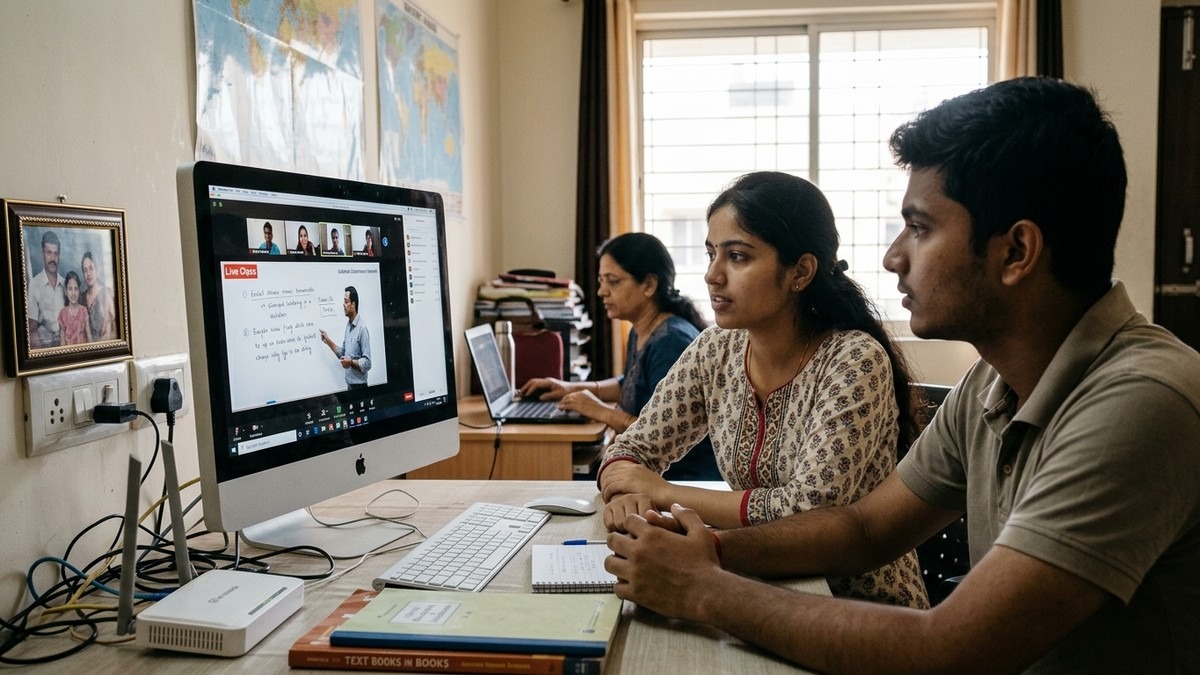
Step 5: Set Your Rates and Stick to Them
Most people don’t realise that underpricing yourself from day one is a trap. You’re teaching a valuable skill. Charge for it.
- One-on-one tutoring – Rs.300-800 per hour (depends on subject and level)
- Group classes – Rs.150-400 per student per month
- POD batches – Rs.2,000-5,000 per student per month
These aren’t random numbers. They’re based on what Indian parents actually pay. Don’t undercut yourself to “build a base.” You’ll attract price-conscious parents, not committed learners.
Step 6: Build Your Teaching Business Properly
Once you’re running classes, you need basic business systems. A simple Google Sheet to track attendance. A WhatsApp group for parent communication. A simple website or social media presence. Nothing fancy.
For more details on structuring this correctly, read our guide on how to start your teaching business from home in India. We also have a specific guide on coaching class from home if you’re focused on exam prep.
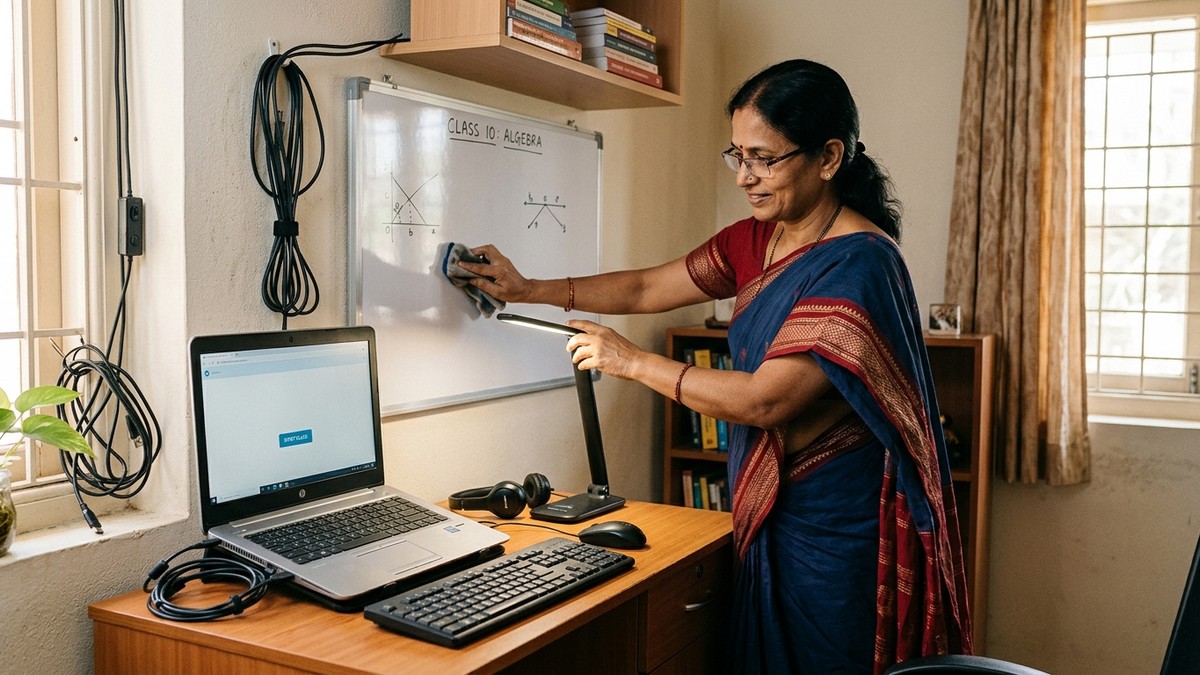
The Bottom Line
Online teaching from home India is not complicated. It’s not expensive if you make smart choices. It’s not risky if you start small and test before scaling.
What it is: a real opportunity for homemakers, senior citizens, tuition teachers, and edupreneurs to build income on their own terms. The equipment is available. The demand is there. The only missing piece is you taking action.
Stop waiting for the “perfect time” or the “perfect setup.” Get APNA PC, pick a platform, find your first student, and start. You’ll learn more in your first month teaching than in a year of planning.
Ready to move forward? Learn how to start a Teach to Earn Learning POD and scale your teaching business beyond one-on-one tutoring. Or explore Teaching (Wikipedia) to understand the pedagogy behind effective instruction. For broader context on education in India, check UNICEF India Education.