
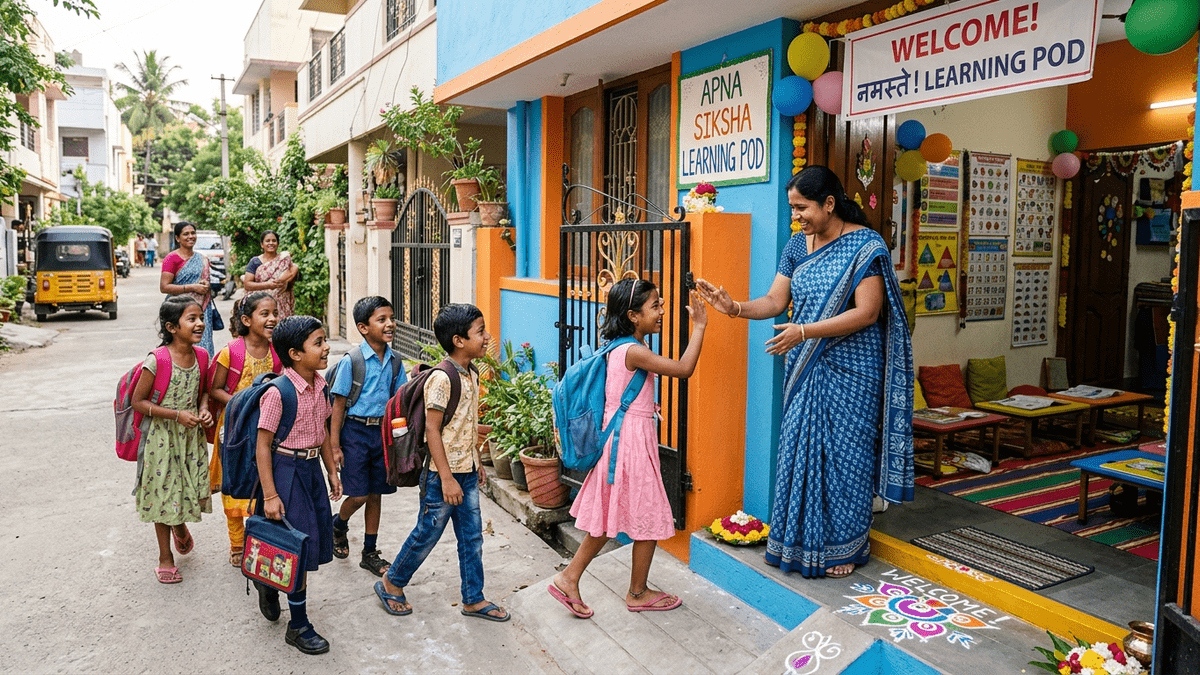
Stop Waiting. Start Your Learning POD in the Next 90 Days.
You’ve thought about it long enough. Whether you’re a homemaker looking to reclaim your time, a retired teacher missing the classroom, or an aspiring edupreneur with a vision, the question isn’t “should I start?” It’s “why haven’t I started yet?” Here’s the truth: most people do not realise that launching a home-based education centre doesn’t require months of planning or a massive investment. It requires a clear 90-day action plan and the right tools. This guide breaks down exactly what you need to do, week by week, to go from thinking about it to running your first batch of students.
Let us be honest: the education business in India is shifting. Parents want personalised learning. They want accountability. They want results. A learning POD (Point of Digital Learning) gives you the perfect platform to deliver exactly that. And with the right setup, including APNA PC, you can be operational faster than you think.
Week 1-2: Foundation and Mindset
Your first two weeks aren’t about technology. They’re about clarity. You need to answer three questions before you buy anything or tell anyone about your plans.
- Who are your students? Which grade? Which subjects? Online, offline, or hybrid? Don’t say “everyone.” Your centre thrives when it’s specific.
- What’s your unique angle? Are you focusing on exam prep? Conceptual clarity? Personality development? Why would a parent choose you over the coaching centre down the street?
- Where will it run? Your home? A rented space? Be realistic about your space and your budget.
During this phase, spend time on NCERT resources to understand the curriculum your students will follow. Talk to at least five parents in your circle. Ask them what frustrates them about their child’s current learning setup. Write down their answers. This is your market research for your POD launch plan.
Most people do not realise that success depends more on knowing your audience than on having fancy equipment. The equipment comes later.
Week 3-4: Infrastructure and Setup
Now you’re ready to think about the physical setup. This is where APNA PC becomes your secret weapon. You don’t need to assemble different vendors, negotiate with multiple suppliers, or worry about compatibility issues. APNA PC gives you everything in one bundle: the Mini PC (i3 7th Gen, 8GB RAM, 128GB SSD), monitor, keyboard, mouse, webcam, headset, installation, and three years of warranty for Rs.30,000.
Here’s why this matters: your setup needs to be professional from day one. Your students need to see that you’re serious. Your parents need to trust that you’ve invested in quality. APNA PC delivers all of that without breaking your budget.
In weeks 3 and 4, order your APNA PC and set up your workspace. Create a small corner that feels like a classroom, not a bedroom. Good lighting. A clean background for your camera. A desk that’s organised. These details matter more than you think when you start a teaching business in India.
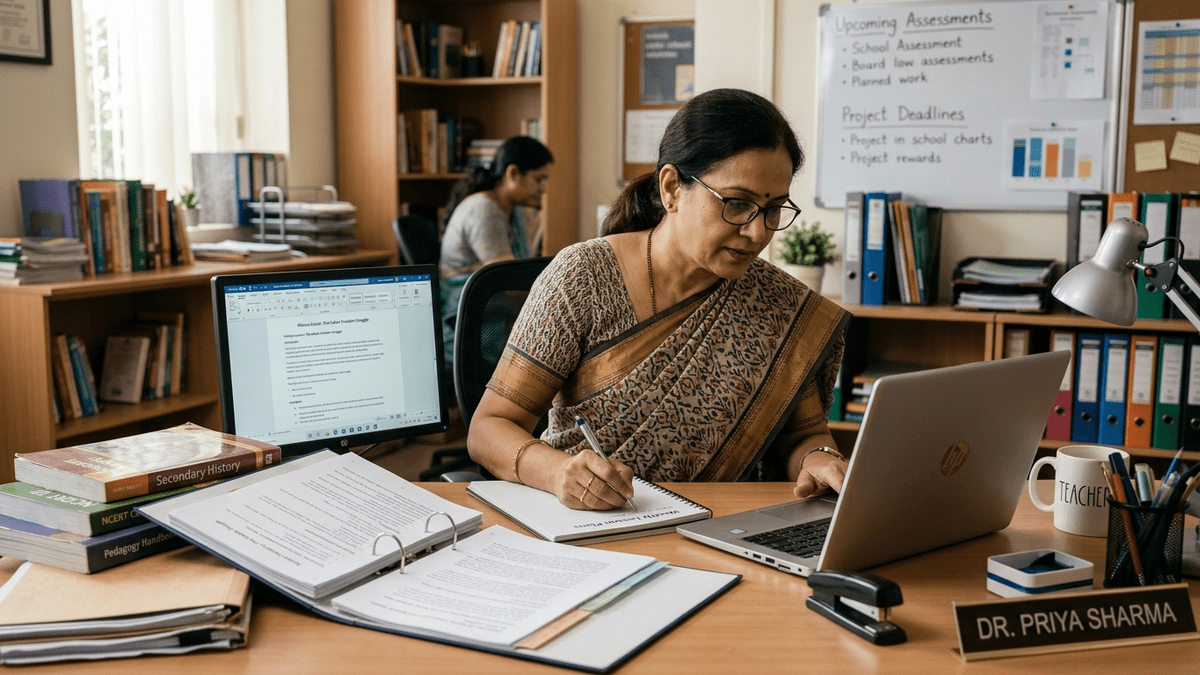
Week 5-6: Content and Curriculum Planning
Your centre is only as good as what you teach. Use this time to create a detailed curriculum for your first batch. Break it down into weekly modules. Identify which topics need video explanations, which need live interaction, and which need assignments.
Explore platforms like Eklavya learning platform to see how other educators structure their content. You don’t need to copy them, but you can learn from their approach.
Create your first week’s lesson plans in detail. Write your first quiz. Record your first video lesson on your APNA PC. This isn’t about perfection. It’s about momentum. You’ll improve as you go.
Week 7-8: Marketing and Your First Batch
You can’t run a centre without students. Start telling people about what you’re building. Create a simple one-page flyer. Share it in parent groups. Make phone calls. Offer a free trial week to your first five students.
Be direct about what you offer. What’s the schedule? What’s the fee? What results can parents expect? Don’t be vague. Clarity builds trust.
Read our guide on POD economics: cost, revenue, and break-even to understand your pricing and when you’ll hit profitability. Understanding your numbers gives you confidence when you talk to parents about your education business in India.
Week 9-12: Launch Your Learning POD and Learn
Your first batch starts. This is real. You’ll make mistakes. Your technology might glitch. A student might not show up. A parent might ask a question you don’t have an answer to. That’s all normal.
Your job in these final weeks is to run your centre, collect feedback, and adjust. Are your timings working? Is your content hitting the mark? Do parents feel their child is learning? Use this information to improve.
Most people do not realise that your first batch is your best teacher. They’ll show you exactly what works and what doesn’t. Document everything. After 12 weeks, you’ll have real data to scale to the next level.
Learn more about how edupreneurs build parent-trusted learning centers as you grow beyond your first batch.
Your 90-Day Checklist
- Weeks 1-2: Define your audience, angle, and location
- Weeks 3-4: Order APNA PC and set up your workspace
- Weeks 5-6: Plan your curriculum and create your first content
- Weeks 7-8: Market your centre and enroll your first students
- Weeks 9-12: Launch, run, and refine
This isn’t theoretical. This is what works. You don’t need to be perfect. You need to be ready. You need to be consistent. You need tools that don’t slow you down. APNA PC at Rs.30,000 gives you that.
Your learning POD is waiting. These 90 days will change everything. Start your learning POD now.